-->

This Page

has been moved to new address

henry happened

Sorry for inconvenience...

Redirection provided by Blogger to WordPress Migration Service
henry happened: July 2011

Sunday, July 31, 2011

Delightfully Noted Giveaway
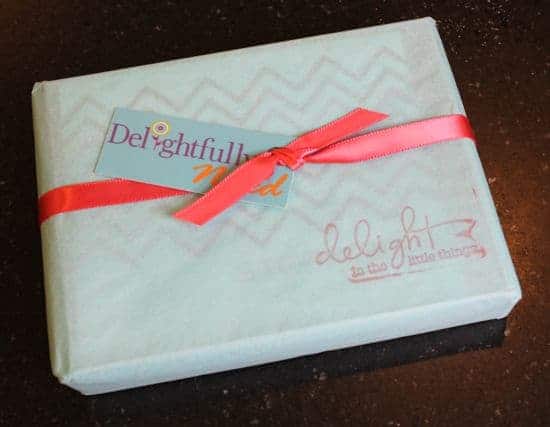

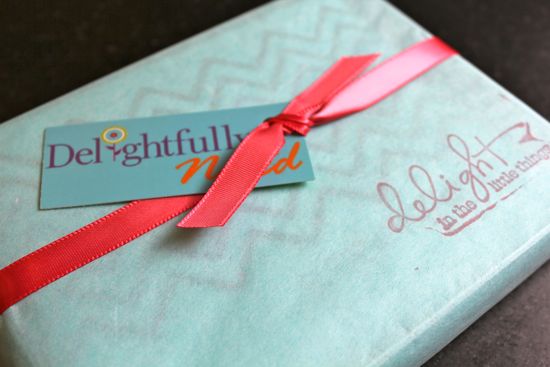
I'm popping in from the beach because I have a fun giveaway for you. Right before we left I received something fabulous in the mail. The lovely packaging made opening it feel like an extra special treat!

I worked with Jennifer from Delightfully Noted on personalized note cards, and I just love them! She let me customize the fonts and color (I chose purple, of course) and split the order into two designs. I can't wait to dash off a note!

I first fell in love with Jennifer's blog because she completely cracks me up. Only later did I realize she has a charming Etsy shop featuring personalized stationary, invitations and other paper goodies.

And because Jennifer is super awesome, she is giving one reader a $25 credit to her online shop.

Thank you Delightfully Noted!

In order to win you must:

Visit Delightfully Noted and tell me what you'd like to order

Follow Henry Happened via GFC (publicly please)

You can also get extra entries if you:
  • Follow Delightfully Noted on Facebook
  • Follow Delightfully Noted's Blog via GFC (publicly please)
  • Follow Henry Happened on Facebook or Twitter
  • Blog, post on your Facebook page or tweet about this giveaway. Tag your tweet with @henryhappened so I can track it
Giveaway ends Monday, August 8 at 11:59PM and the winner will be announced on Facebook. Good luck!

Wednesday, July 27, 2011

House Spy | Jungle Nursery


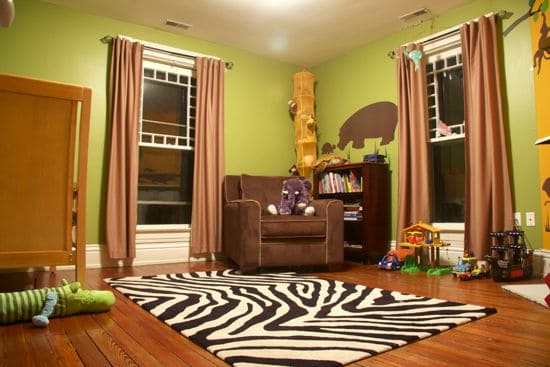
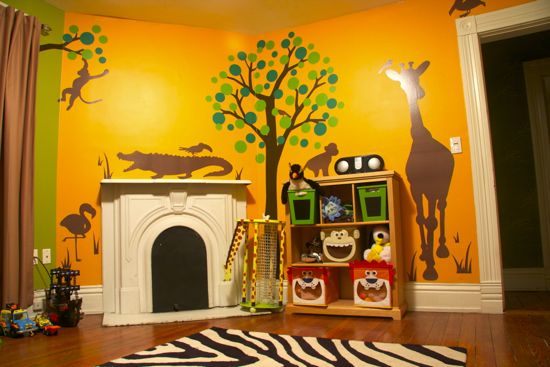
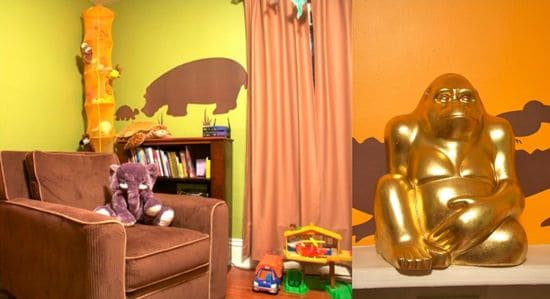
My friend Nikki has been in too many posts to count. But her son Wyatt's room is so cute that I wanted to share. I was super impressed that Nikki and her husband Dennis did all of the designing and decorating themselves. I would be scared to death to paint walls green and orange but I love it. Isn't it such a fun space?

Nikki writes, "The whole thing that got us moving was the fact that Maya was due in 3 months, and we didn’t want Wyatt to have to move in his new room RIGHT before she was born. So, we wanted it to be something he really liked. We let him pick the colors (the orange and green). Wyatt LOVED animals at the time, especially giraffes, hippos, monkeys, etc. I wanted to do a wall decal, so looked for safari animals and found the animals on Amazon, and the tree on Etsy. It was incredibly easy to apply and looks great – like someone professional helped out. Then we added the big carpet (walmart.com) and the giant chair (Value City Furniture, believe it or not) that needed to be big enough for sitting in together to read night-time books.

I still want to put more things on the walls. I have some frames that one day I’ll get hung up! But then Maya came…and we just haven’t gotten back to doing anymore!"

I know Wyatt loves this room. Did you love your room as a kid?

Tuesday, July 26, 2011

DIY Puffy Bead Bracelets | Guest Mom Kelly

I'm very excited to be here today!! My name is Kelly, and I write a fun little DIY blog called Running With Glitter.

I'm a mommy to two littles and a wife to one cool CPA. I try to include my children in my crafting as much as possible. So you will find lots of family friendly recipes and projects over at my blog.

This is me and my daughter Aubrey Rose. {you would never know that she was a micro preemie born at 26 weeks!} She was the inspiration for the name of my blog. We were making Christmas ornaments and she ran thru the house with a glitter shaker, and it went everywhere. I said in my mommy voice, "No running with glitter."

It cracked us both up. I don't mind a little glitter on my floor as long as fun is had. And my son, Adrian, usually has sparkles on his forehead from glittery mommy lipgloss kisses. I don't mind that either. Sparkles on the floor, sparkles on the skin, sparkles of happiness in our hearts....

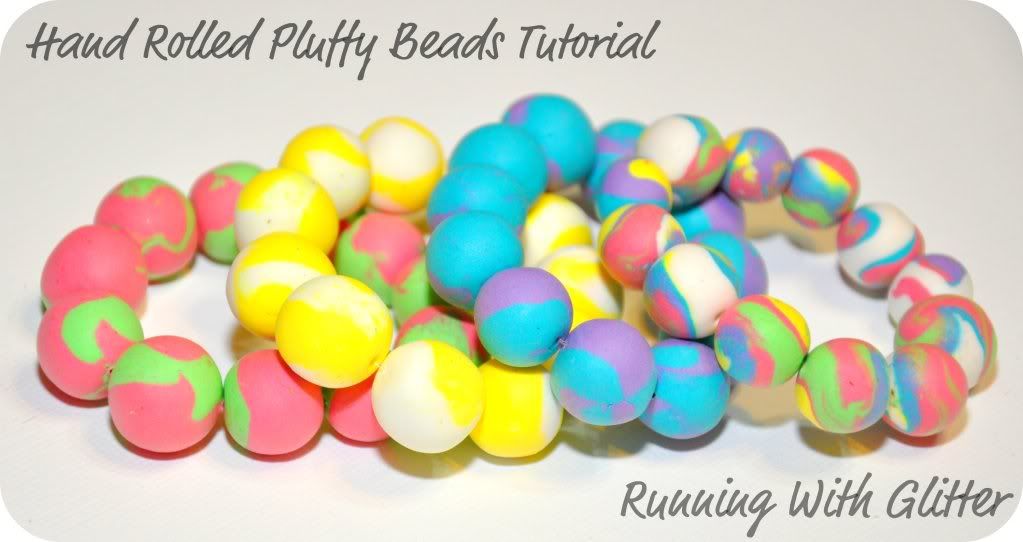
Today I'm going to share a fun project with you - Puffy Bead Bracelets!
Photobucket
I have been wanting to try my hands at making clay beads for a while.
Working with Polymer Clay is super intimidating to me. Pluffy Clay was the perfect ingredient for a first timer. It is light and very forgiving, not too messy and does not dry out until it is baked. {love that I can leave it out overnight and it is not dried up the next day}

I think that I just may be hooked on making beads. I really love Pluffy clay and it was a great for my kids to play with while I worked on making Aubrey Rose's bracelets. 

 
Supplies Needed:


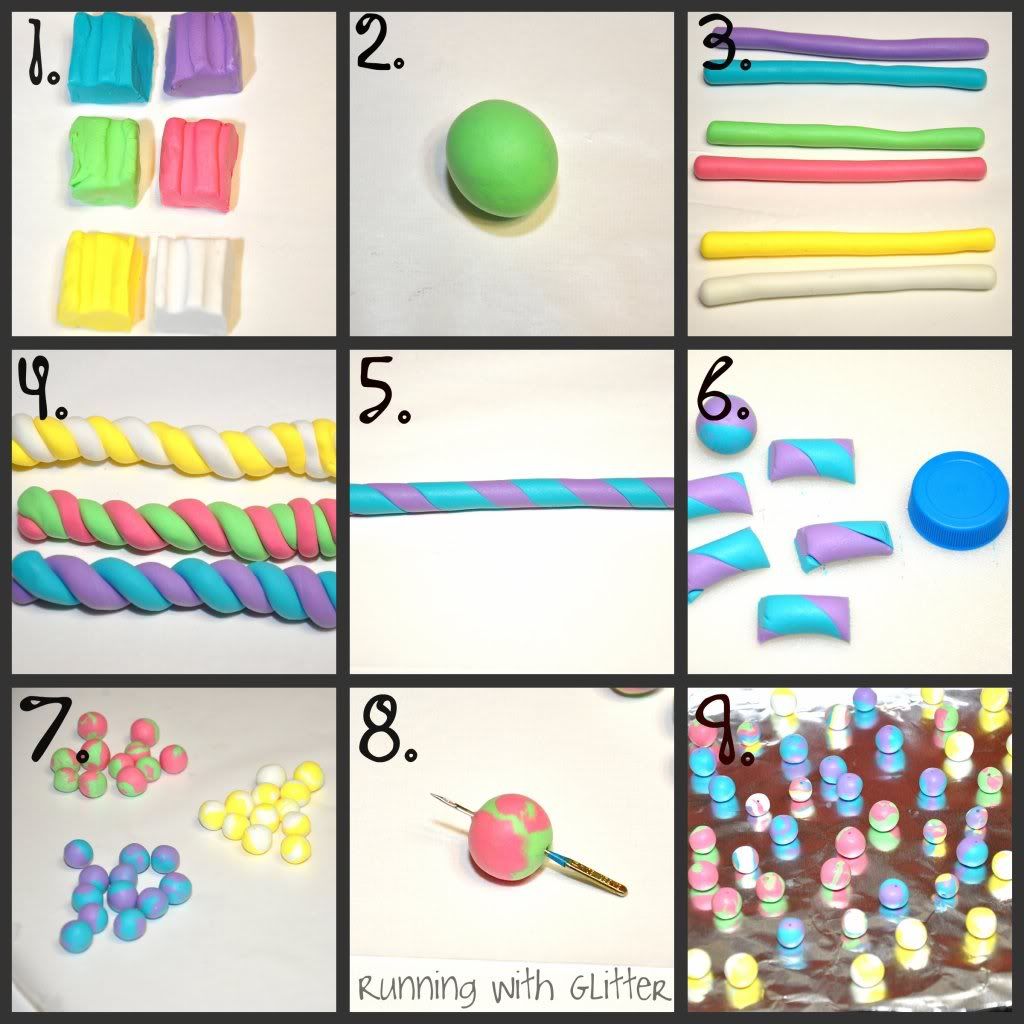
How to make your beads
Photobucket

1) Cover your work surface with wax paper and cut even squares of your clay {this clay will stain}
2) Knead your clay until soft then roll into a ball.
3) Roll each ball into an even snake/tube :)
4) Take two colors press them together firmly and twist
5) Roll both clays together just like you did in #3
6) Cut even pieces of your clay. I used a bottle cap as a size guide.
7) Roll into even balls. The balls were too big at first so I halved each one and re-rolled.
8) Use a toothpick, child's sewing needle or sewing machine needle and make a hole big enough for your Stretch Magic to fit thru. I like to use an old sewing machine needle because it makes the perfect hole for .5mm Stretch Magic and is easy to hold onto.
9) Place on foil and bake according to manufacturer's instructions. Let cool.

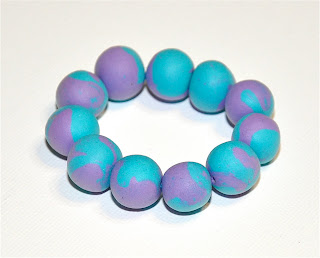
10) String your beads on the Stretch Magic. Tie your string in a knot and add a dab of super glue to the knot. Slip a bead over your knot to hide it. TADA!


These turned out great! I hope you will have as much fun as I did making them!


I hope you will stop by Running With Glitter and say hi sometime!

Monday, July 25, 2011

House Spy | My Living Room


As much as I love the beach, I'm already missing my house - my own messy little place in this world. (Yes, I caved and had to get a little computer time at Starbucks. But it's raining out, the kids are in bed, and I really needed to get out of the house.)

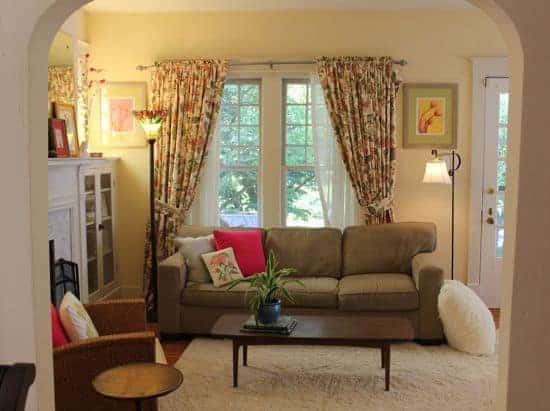
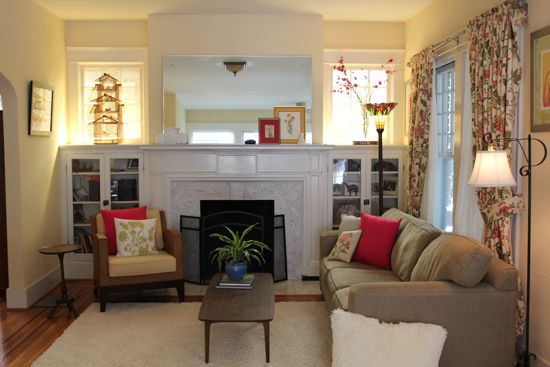
Anyway, I mentioned my yellow living room not long ago - and how I had actually come to love it again after a little professional help. It was clean for the briefest of moments so I snapped a few photos. It's definitely not perfect - a splurge on new seating is first on the list - but I'm content. For now.

View toward the fireplace. Not sure if I'm embarrassed or proud that most things are from Goodwill or antique stores. Oh, the rug is from Home Depot.


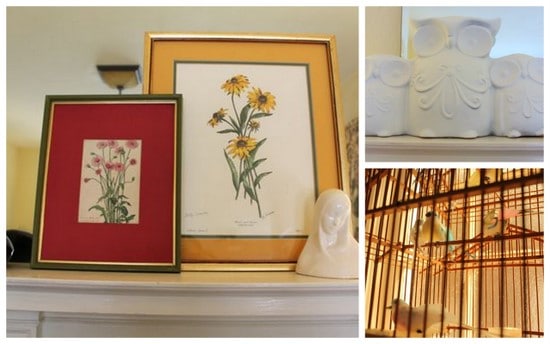
I have struggled mightly to figure out what the heck to do with the mantle. The current mix of thrift pictures and birds makes me happy. I spray painted the owls.


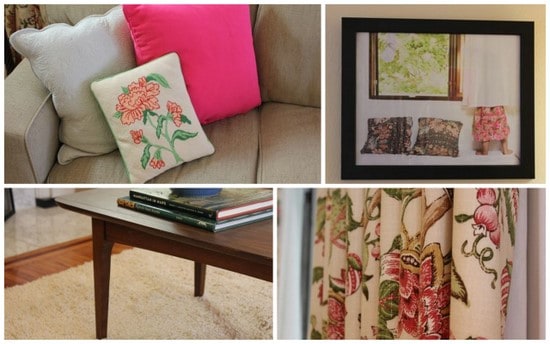
A few of my favorite details - I had no idea I had such a thing for pink and green, but it's showing up everywhere in my house.


You might remember the green desk. A realtor recommend moving it to stage the house when we were trying to sell it. I ignored him. But I still have to move that picture.


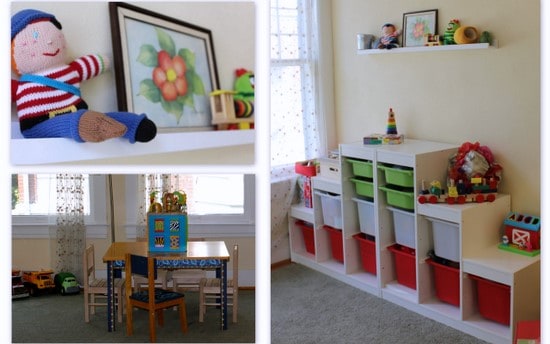
Right behind the living room is a gorgeous sun room with lots of tall windows. It has become toy central.


It has become my favorite room in the house - and it has no TV! Which is saying something for me.

What's your favorite room?

Sunday, July 24, 2011

Style Spy | A Purse Peak

Hi my name is Jenna Lee from à la mode.

I am addicted to products and all things girly.
Here is a sneak peak in my purse... all of the random I things I carry with me that I cannot live without.

OK So we have:
A Lotus Wallet
A Silver Coat Bag
A Burberry Bag
Cottonelle Wipes-Always Have these!
Spin Pins- I swear by these now!
A Collar: For Ava my Pom (It's pink with little skulls on it)
Life Savers
Bubblicious- Watermelon & Strawberry Flavor
Jeep Keys- (and my skeleton key)
Burt's Bees-Tinted Lip Balm
Mad Gab Vanilla Lip Lube
& Glasses.
Now with everything open we have to add:
In the Silver Coach Bag:
3 Brushes
2 Eyeliners
Liquid Maybelline Fit Me Foundation
Mac Powder Foundation
Mac Concealer
Covergirl Lash Blast Fusion
Maybelline Dream Mouse Blush
L'Oreal Liquid Liner
Nail File
In the Burberry Bag:
Wet Nap: Who knows when you'll be having BBQ
First Aide Kit
Bra Strap Holder-I use this for working out when I forget a sports bra
Tattoo Goo- I have a lot of tattoos! And its great for cuticles
Tiffany Bag filled with Advil and Tylenol
Ear Plugs- For Shooting with Frank
Toothpicks
Colgate Wisp- on the go toothbrushes
& Panty Liners and Numerous Tampons

SOOOO MUCH stuff!

Thank you for having me... hope you enjoyed a peek into my purse!

Friday, July 22, 2011

Off to the Beach

Today the clan is headed to Rehobeth Beach in Delaware for almost two weeks. (I cannot tell you how many people ask me, there's a beach in Delaware?)

It's lovely when we get there but I seriously dread the full day of travel. Two kids who haven't had a nap trapped in a plane. What's not to love? We've learned a few things the hard way (like hiding in the bathroom) so I compiled my airport survival guide.

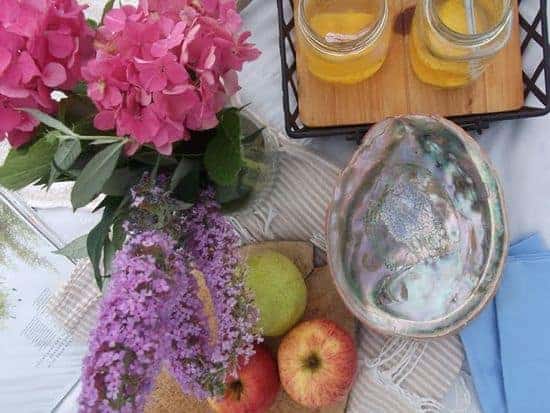
Once we get there, it's amazing. I plan to have a picnic on the beach, like this one at A Daily Something.


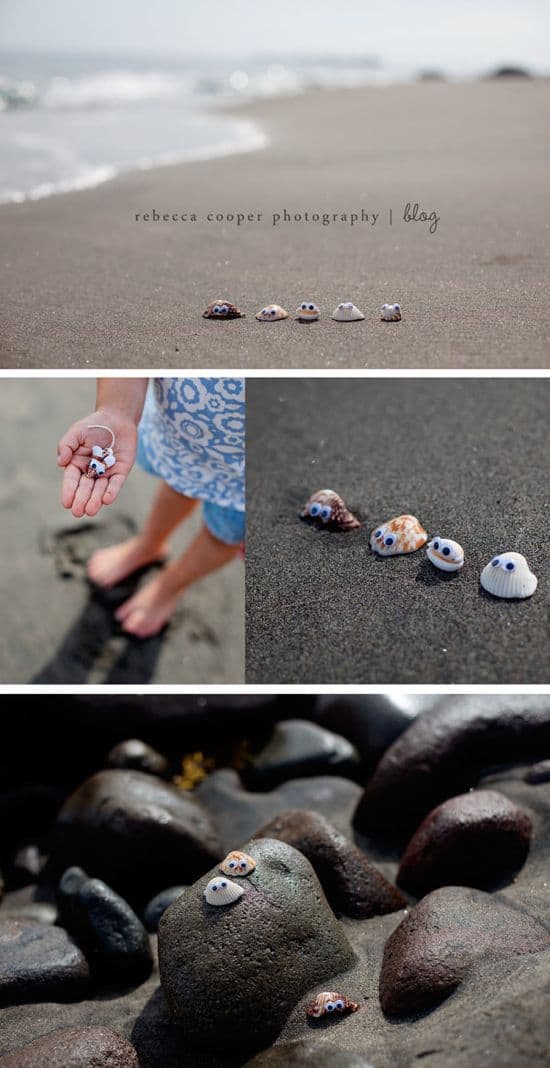
And make these adorable shell pets seen on eighteen25.


There's no Internet access (the horror!) so I'm going to have serious computer withdrawal. I have a few things planned that I hope you'll enjoy while I'm away. See you back on the 3rd!

Travel Spy | Pakistani Wedding

I've enjoyed reading Star's travelogue so much - she has gone to such unique places, you should check it out. It reminded me of some of our pre-kid travels to exotic locales. So while we head out today (nowhere too adventurous this time, unless you find Delaware exotic) I thought I would share one of our more memorable trips - when we went all.the.freakin.way to PAKISTAN for a wedding.
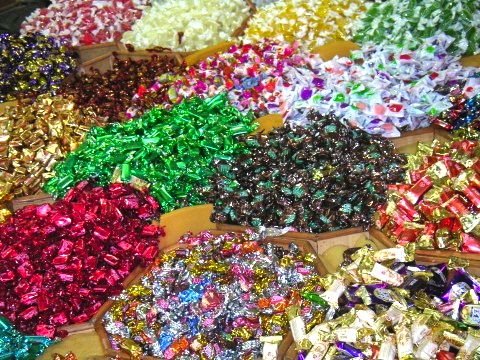
Yes, folks, my husband is a very loyal friend. One of his best friends from his years in New York is a native Pakistani (his father used to be the Secretary of State for Pakistan). He was marrying a local girl in a very traditional - and elaborate - wedding so, sure, we'll be there!

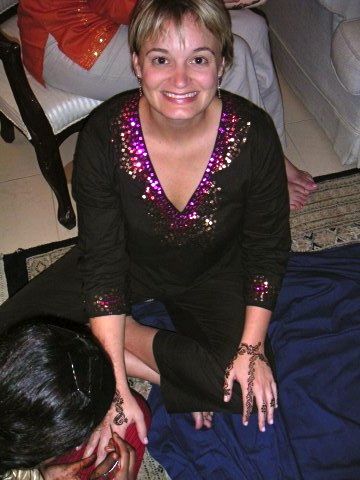
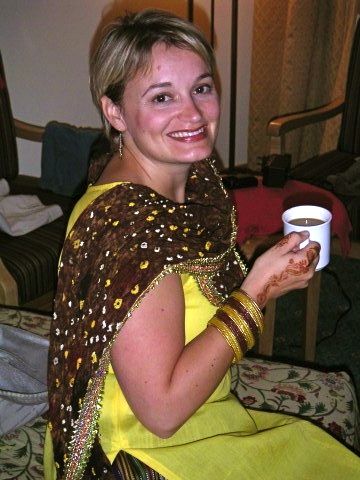
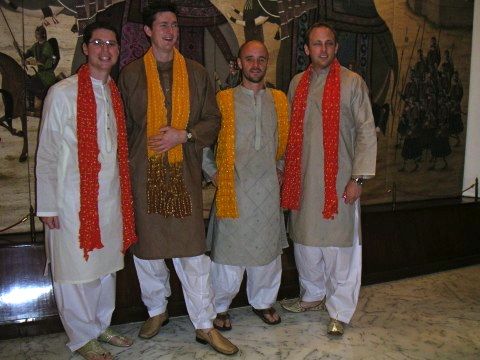
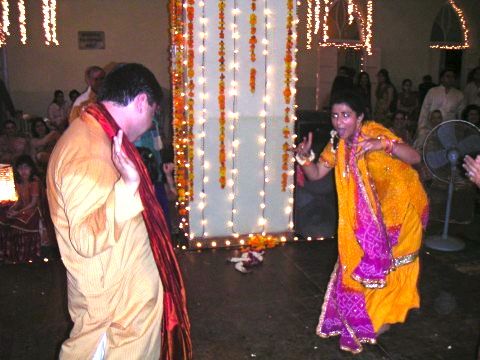
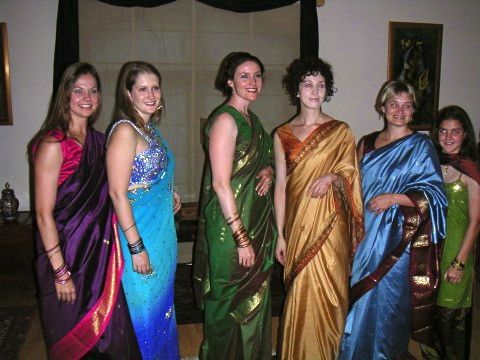
There were three parties but no actual wedding, which I thought was interesting. Our hosts were so gracious to the Americans and other Europeans who attended. They had two outfits made for each of us and we all had our hands painted with henna.

They made us feel very safe. We never left the hotel without someone from the family as our escort. And we ate meals either in the hotel or with our host's family. It was quite an experience.

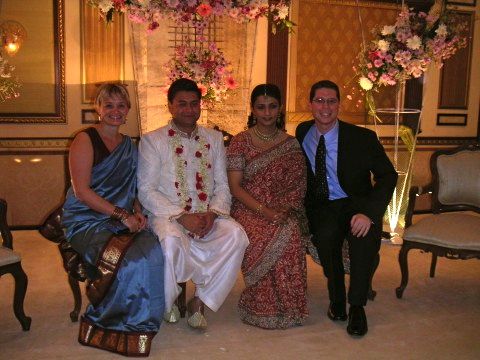
All decked out for the first party.
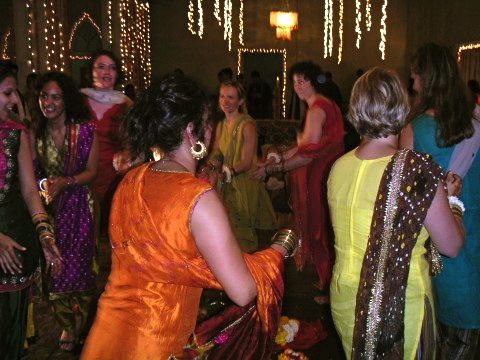
The first ceremony was definitely the most casual and laid back. The place was lit up with string lights and decorated with jasmine and marigolds so it smelled amazing. It was a gazillion degrees with all the layers, tons of dancing, and no AC. But the bride outdanced us all!
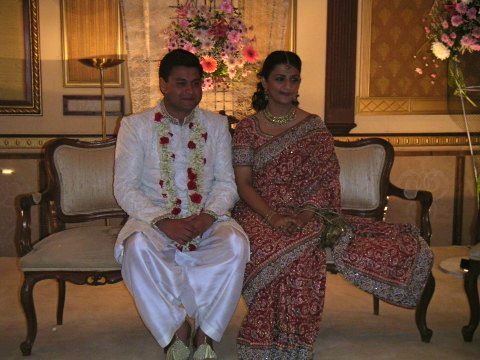
The next ceremony was much more formal. Much like a typical reception - just without having a wedding ceremony beforehand. It was one giant receiving line with the couple on stage. We had fancy outfits for this too. (I could not get mine to drape right.) But we paled in comparison to the stunning handmade sari worn by the bride.

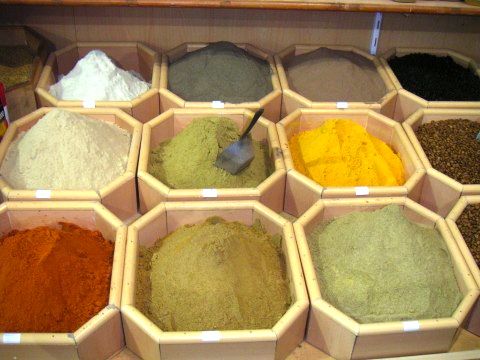
I don't remember much about the last party. More food, more dancing. The events were spread out over a week so by the third one, I was pooped. We did manage to get some shopping in. These bracelets were glass and would break so easily.


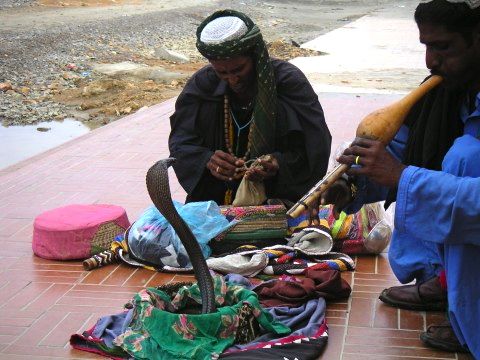
Randomly on the street you would see a snake charmer.

We missed our connection in Dubai and spent an extra day there. That city was amazing. I'd go back there in a heartbeat. Everywhere you looked the world's largest/tallest/most expensive something was being built.


Thursday, July 21, 2011

DIY Color Block Purse


I caught about 3 minutes of the Nate Berkus show and saw an amazing idea for updating a plain ol' purse into a fun color block wonder. Is there anything duct tape can't do?!

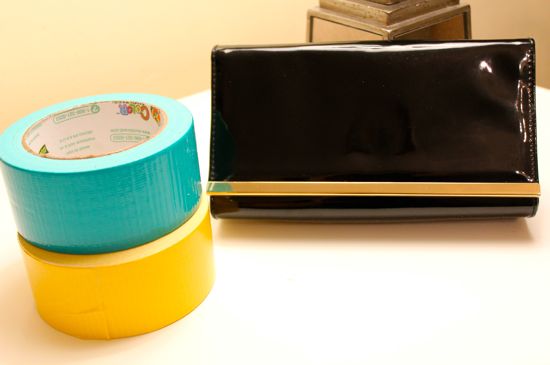
When I found a cute clutch at Goodwill for $1.50 I had to try it.


You will need:

*A plain purse - a clutch works nicely

*Colored tape. I bought colored duct tape at Hobby Lobby awhile back to indulge Caroline's tape obsession. (We have lots of tape decorated lamps. I'm not kidding.)

And I recommend doing this project with a friend. My friend Nikki - whose hands appear in this blog, like, a lot - is so fun to craft with. She and her adorable brood came for dinner on Tuesday, and it was the best time. Food was awesome if I do say so (mahi mahi with mango, avocado, cherry tomato salsa and homemade mint chocolate chip ice cream), and our kids played like angels.

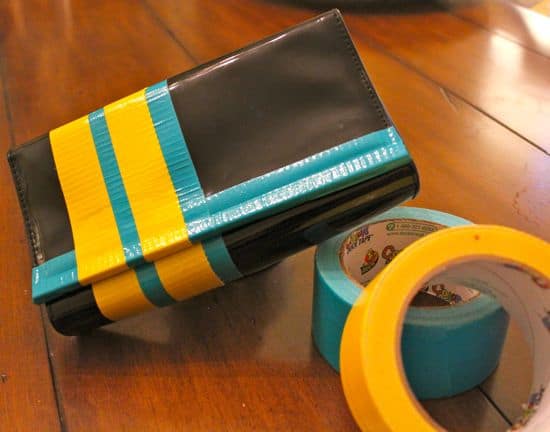
It is so much more fun doing this stuff with other ladies. Wouldn't a craft night be fun? My best projects seem to happen with a little wine involved.

Anyway, back to the purse.

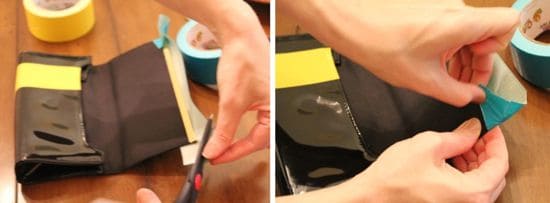
Step 1: Try to visualize how you want to layer your tape. But if you end up changing your mind, it's not a big deal because you can lift the tape (we did). For this purse, we put down a layer of turquoise horizontally to cover the gold closure. Snip the corner so you can fold down the edges.

 
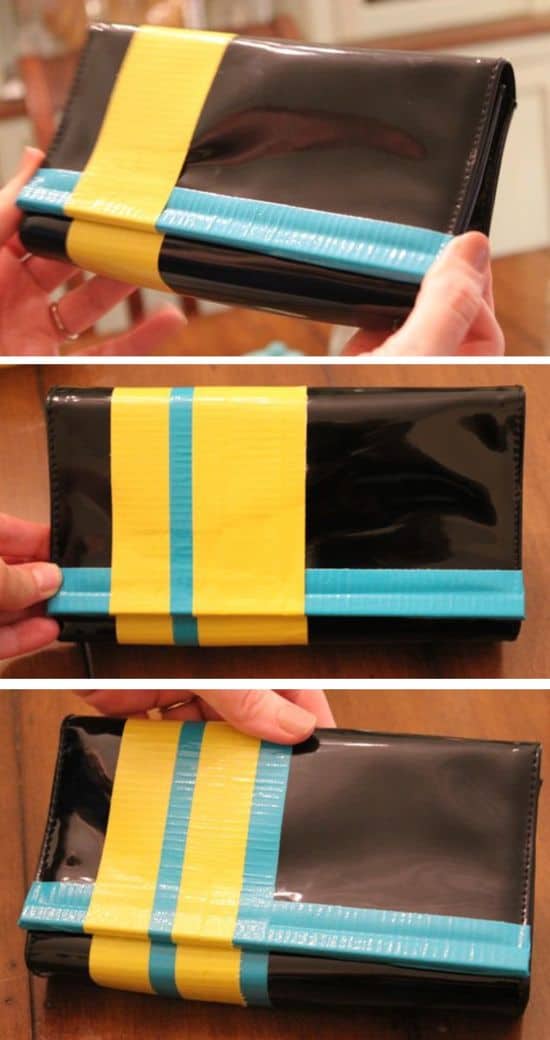
Step 2: Layer the tape horizontally. We did 3 layers: yellow, turquoise, and yellow.

Step 3: You can tear the tape if you want the last band to be thinner and show the turquoise underneath.


Here's the evolution of the stripes:


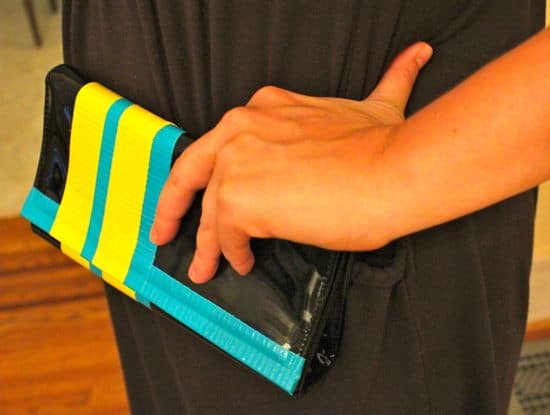
What do you think? I kinda love it!