DIY Bobby Pins - Neon, Glitter and Sparkle

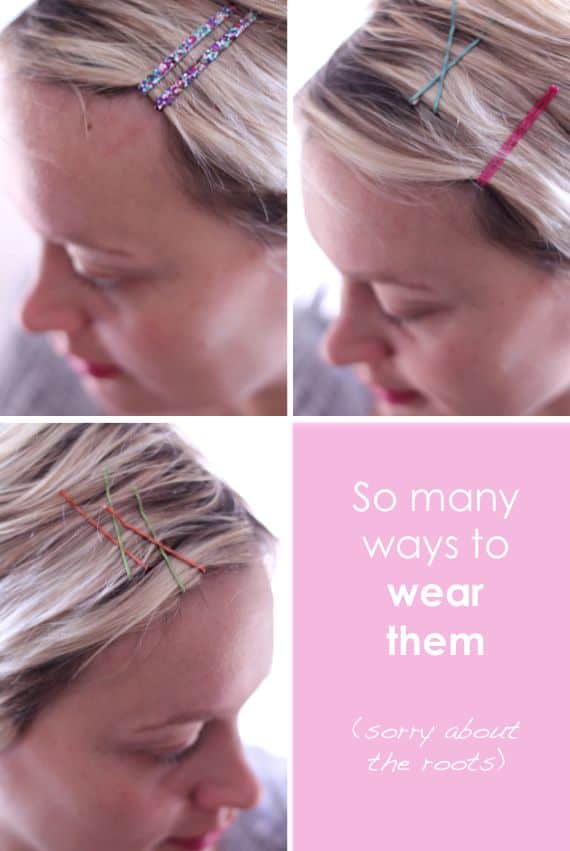
With so many fun bobby pins floating around (see here or here) I was determined to DIY some colorful ones for myself. For those of us with crazy short hair, blinged out bobby pins is where it's at.
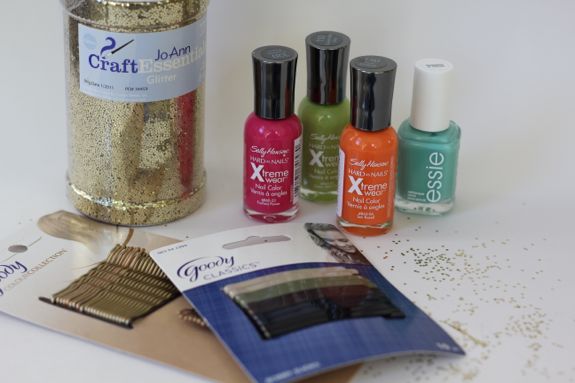
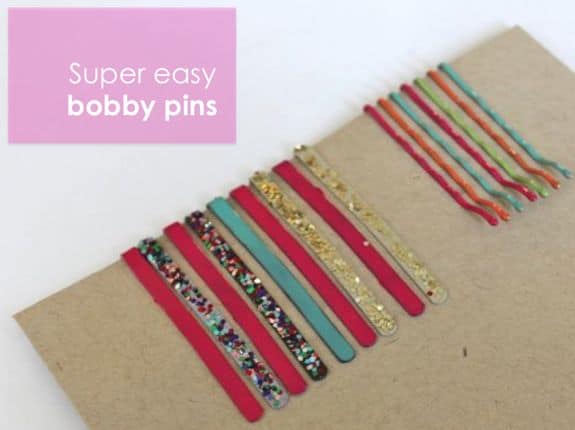
When spray paint didn't work I used Anna's idea of painting with nail polish. Voila! And one you get started painting these little guys, you get addicted! So I made three versions - neon, glitter and sparkle.

Instructions are super easy.
For neon:
1. Slide the bobby pins onto cardboard or paper to make them easier to paint. Otherwise they fall over pretty easily, making them hard to paint. Learned this one the hard way.
2. Paint two coats of neon nail polish, drying in between.
3. Apply top coat (optional).
4. You don't need to to paint the back of the bobby pin - once it's in your hair no one will see that part.

For glitter:
1. Paint the top of the bobby pin with clear polish. Or you can use Mod Podge.
2. Make a little pile of glitter and dip the top of the bobby pin in.
3. Let dry and apply another coat of polish or Mod Podge.

For sparkle:
1. Glue on a strip of rhinestone trim the length of the bobby pin. I used Tacky Glue because it dries clear.
2. Wind any kind of trim between the rhinestones. I used what I had on hand - neon rope from Home Depot and mint colored crochet thread.
3. Glue the ends of the thread and snip off any excess.


0 Comments:
Post a Comment
Subscribe to Post Comments [Atom]
<< Home