DIY Color Block Purse
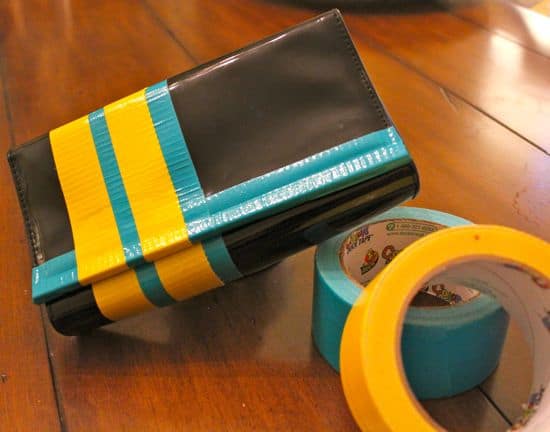
I caught about 3 minutes of the Nate Berkus show and saw an amazing idea for updating a plain ol' purse into a fun color block wonder. Is there anything duct tape can't do?!
When I found a cute clutch at Goodwill for $1.50 I had to try it.
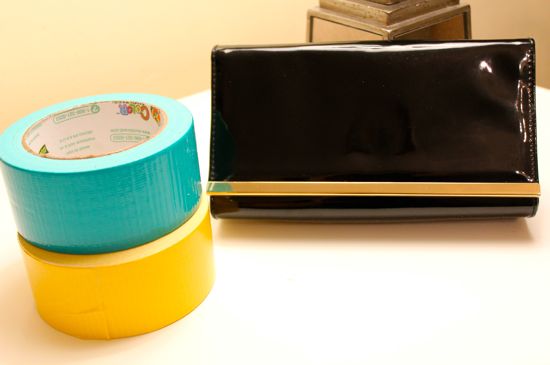
You will need:
*A plain purse - a clutch works nicely
*Colored tape. I bought colored duct tape at Hobby Lobby awhile back to indulge Caroline's tape obsession. (We have lots of tape decorated lamps. I'm not kidding.)
And I recommend doing this project with a friend. My friend Nikki - whose hands appear in this blog, like, a lot - is so fun to craft with. She and her adorable brood came for dinner on Tuesday, and it was the best time. Food was awesome if I do say so (mahi mahi with mango, avocado, cherry tomato salsa and homemade mint chocolate chip ice cream), and our kids played like angels.
It is so much more fun doing this stuff with other ladies. Wouldn't a craft night be fun? My best projects seem to happen with a little wine involved.
Anyway, back to the purse.
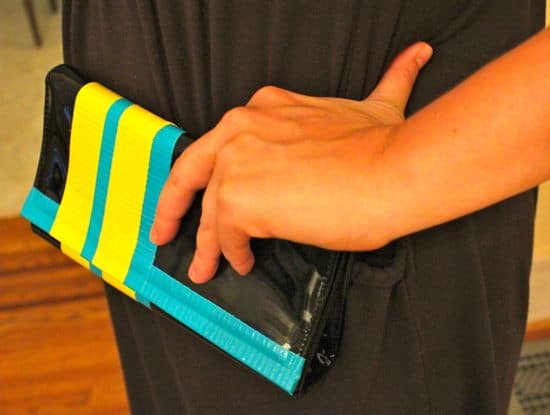
Step 1: Try to visualize how you want to layer your tape. But if you end up changing your mind, it's not a big deal because you can lift the tape (we did). For this purse, we put down a layer of turquoise horizontally to cover the gold closure. Snip the corner so you can fold down the edges.
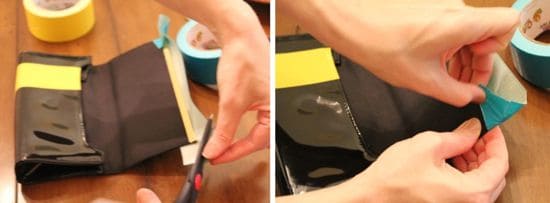
Step 2: Layer the tape horizontally. We did 3 layers: yellow, turquoise, and yellow.
Step 3: You can tear the tape if you want the last band to be thinner and show the turquoise underneath.

Here's the evolution of the stripes:
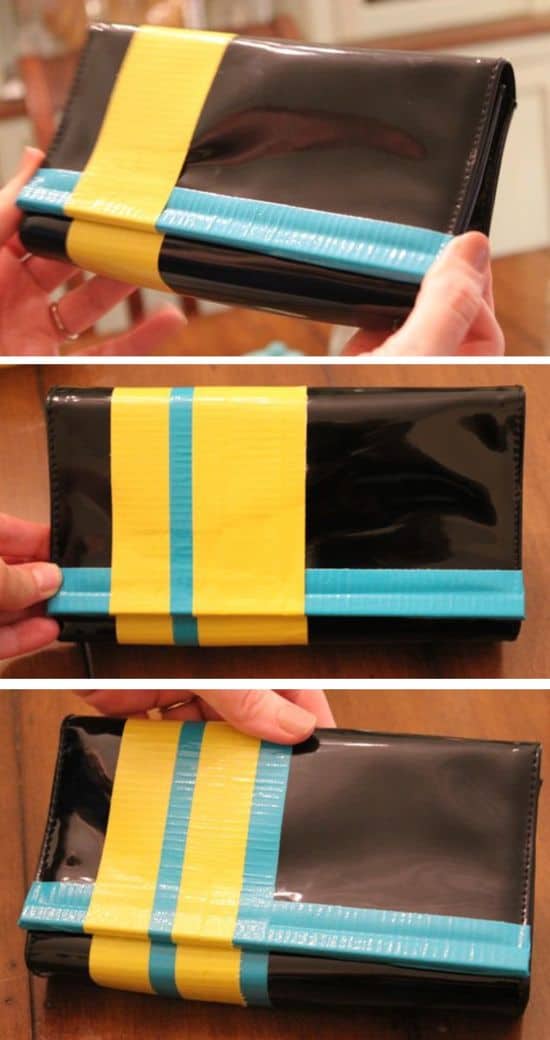
What do you think? I kinda love it!


0 Comments:
Post a Comment
Subscribe to Post Comments [Atom]
<< Home