DIY Woven Chain Necklace

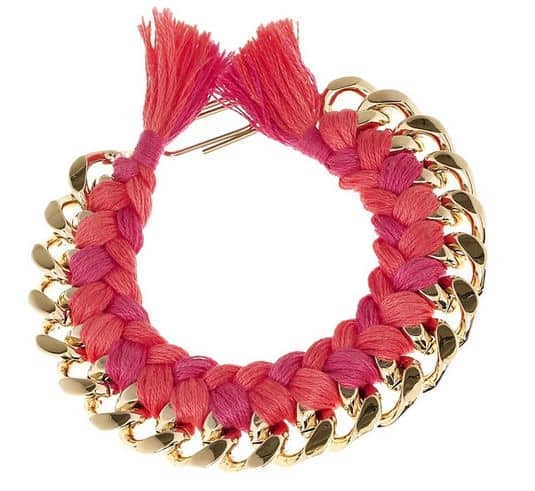
On a hunt for coral jewelry I found this bracelet and LOVED it. First thought: gotta pin it. Second thought: I can make that! Which is good because the original cost $395 and is out of stock (people paid that?).
I picked up a chain necklace from Goodwill a few weeks ago for $2 and figured I could braid it with some kind of thread. Funny, I can't braid hair worth a flip (maybe because I don't have any) but I can braid jewelry!
You will need:
Gold chain in the length you prefer (bracelet or necklace). If you don't buy a necklace with clasps already in it, you can use the paper clip method above to link the chain together.
Embroidery thread. I got 3 little bundles of each color. They were 17 cents each!
Total cost about $3.
Step 1: Good news: this is the hardest part. Create your thread bundles. You want about 15-18 individual threads in each bundle, and they should be roughly 2-3 times the length of chain.
Step 2: Knot the two bundles of thread together at the top, leaving about 1-1.5 inches at the top. Lay the thread out to the left of the chain.
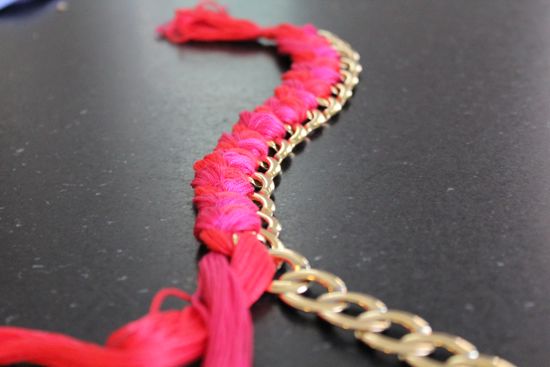
Step 3: Take the thread on the right (the one closest to the chain) and bring it through the chain from underneath.

Step 4: Cross the thread on the left over the right then pull it through the chain from underneath.

Step 5: Continue crossing and threading. Once you get the hang of it, it goes really fast.
Optional: If you have a wider chain you can bring both threads through each link for a chunkier look. I did some of both on my necklace.

Step 6: Knot the thread when you get to the end and trim the edges.

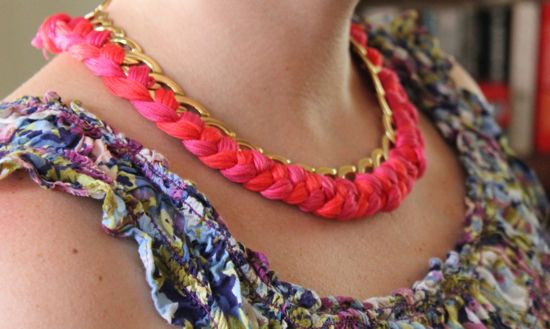
I'm not usually a necklace person but I have been having fun wearing this and my turquoise one!


0 Comments:
Post a Comment
Subscribe to Post Comments [Atom]
<< Home