The Coolest Rosette and Tie Pillow Tutorial
So I am a little bit of a link party addict. I LOVE them. I find the coolest projects and blogs while hopping around. When I spotted these adorable pillows I knew I had to make them. I love that they 1) give me another reason to go to Goodwill and 2) are perfect for sewing novices. Thank you so much to Natalie for sharing a tutorial for 2 awesome pillows! Go check out her site, A Turtle's Life for Me!
*******
I was so excited when Stephanie contacted me to guest post here on Henry Happened. It's got me feeling all sorts of special!
I'm Natalie and I blog over at A Turtle's Life for Me. A couple months ago, I borrowed my sister's sewing machine (and, yes, I still have it! Shhhh!!) and for my first project, I made a couple of pillows.

So today I'm here to give you a tutorial on how I made them. I'm still figuring out this sewing business so there won't be any technical terms here, but hopefully you'll be able to follow along anyways.
I make my pillow covers with a flap in the back so I can remove the pillow inserts and change out the covers whenever I want. My pillow forms are 16x16, and I like them to look really full so I cut my fabric to be 16x16 as well. I figure with the seams, this gives me about a 15x15 "hole" for the pillow so it looks nice and plump! This could be modified depending on how you like your pillow to look.
Let's start with the tie pillow. First step, go to your thrift store and find an old tie for cheap. I pay about 50 cents for mine, and I like the ones that are old-fashioned looking. Then I try to find a coordinating fabric that has more of a feminine quality. I just like the contrast of the feminine print with the old manly tie.
Then I cut one piece of fabric 16x16 for the front panel. The next piece I cut 16x22 for the back panel.

On the 16x22 panel. Cut it into 2 sections - I would guess I make one piece about 14" wide and the other piece 8" wide, but there's no set measurement it has to be.

Then take those inside 16" sides and iron the hem down. This is going to be the flaps for your pocket opening.

Next take the 16x16 front piece and line your tie up. Place it however you like, but I always seem to put mine off-set. Just make sure you allow for the seams. Cut off the excess, pin it down and sew it on! I like the contrasting thread with the dark tie, but you could make it blend if that's your preference.


Then put all your pieces together with the fabric facing in and pin in place. (Notice how my bottom piece is NOT facing the right way! Uh, yeah, maybe I should view my pics before I start sewing!!)

Sew around all 4 sides and once you're finished, I trim off all 4 corners. This makes sure you have nice sharp corners when you turn it right-side out.

Stuff your pillow insert in and then get started on the next one!

For the rosette pillow, I follow the same steps as above. Except instead of sewing a tie onto the front panel, I sew a felt circle on.

Then I sew the back pieces to the front piece like I did with the tie pillow, and you'll end up with a pillow cover that looks like this.

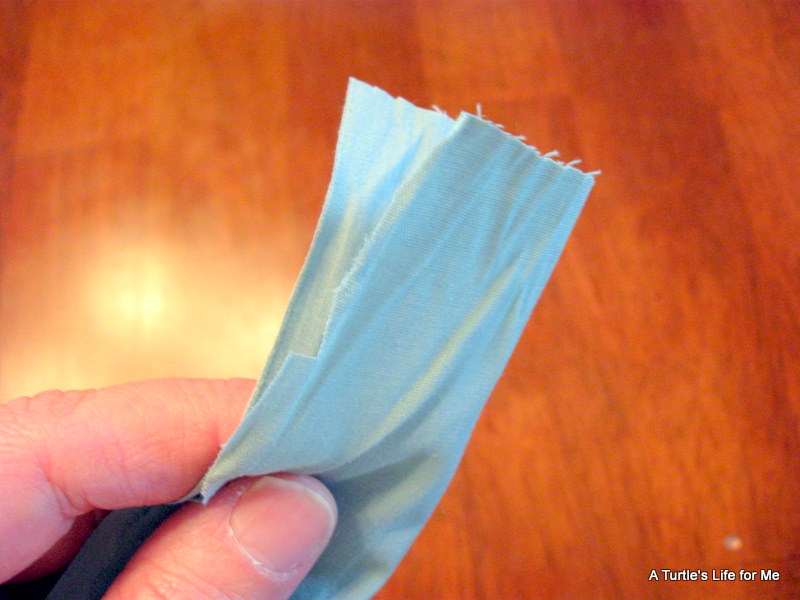
For the rosette, cut a strip from the same material. About 1.5" wide and as long as you can. The longer you're able to cut it, the bigger your rosette will be!

To make the rosette, fold your strip in half.
Then fold down the top edge in a triangle shape.

Take that triangle and fold it down again. This will be the center bud of your rosette.

Then put a dab of hot glue in the center of your felt circle and place your bud down nice and firm.

Then just keep twisting your strip of fabric and hot gluing it down as you go around your rosette. It's totally up to you how tight or loose you want to make it.

Notice in the pic above that when I sewed my felt circle down, I didn't sew it right at the edge. That's because when you run out of your fabric strip to keep building your rosette, you'll probably end up with some felt that hangs out over the edge of the rosette. Since you didn't bring your stitch right to the edge, you can carefully take your scissors and trim away all this excess felt.

Then stuff your pillow inside and you're finished!

Two pillows down and it only took me an hour! And, yes, remember, I did put the front piece facing the wrong direction on the tie pillow and had to completely do it over. And, yes, I may have gotten frustrated and then turned around and have done the exact same thing with the rosette pillow! But, only an hour here people, and I have two cute little pillows to show for it!

Thanks again, so much for having me, Stephanie! And I hope the rest of you will take a couple minutes and hop on over to A Turtle's Life for Me to say hi! Lots of other crafts, sewing projects, cake decorating and more going on, so don't miss out!
*******
Thank you so much Natalie! I love that groovy tie - Father's Day gift idea, anyone?? Now go visit A Turtle's Life for Me. :)

Labels: how to
posted by Stephanie @ henry happened @ 7:09 PM
0 Comments
![]()
![]()


0 Comments:
Post a Comment
Subscribe to Post Comments [Atom]
<< Home