DIY Jingle Bell + Tassel Clutch
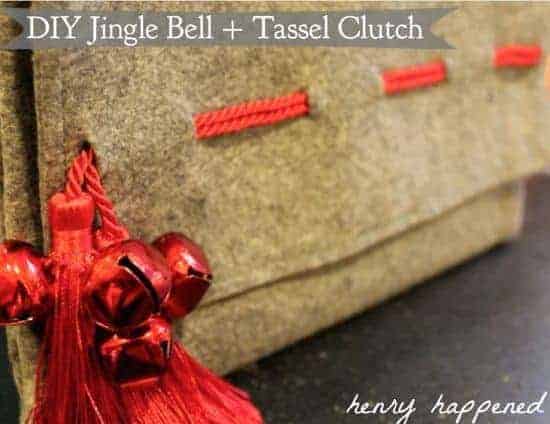
I found this lovely gray felt clutch at Hobby Lobby while out hunting down clutches for this DIY project. I love the size - it easily holds my wallet, phone and a couple of diapers. And only $4.99?! Go get yours right now!
The only problem - it was kind of plain. And I couldn't decide how to spruce it up. Star stickers? Black lace? Cute red bow? Maybe use duct tape again?
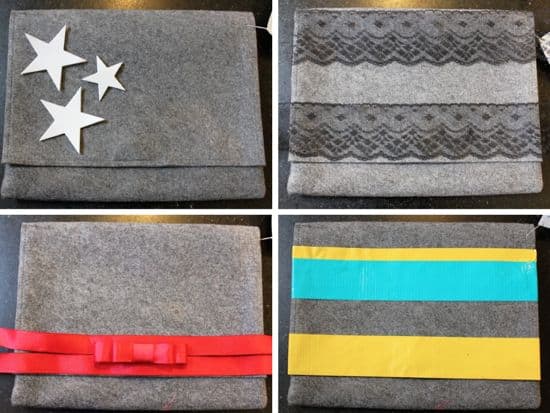
Red was definitely the way to go. I kind of have a thing for red accessories.
It's too bad I don't have a good story about an insanely expensive purse that I was trying to knock off. Because that would be way cooler than telling you I was inspired by a tablecloth.
Red cord curtain tiebacks are magically the perfect length. I also finally broke down and bought an X-Acto knife (which would have come in really handy here, let me tell you). Now I have a decently stocked craft drawer!
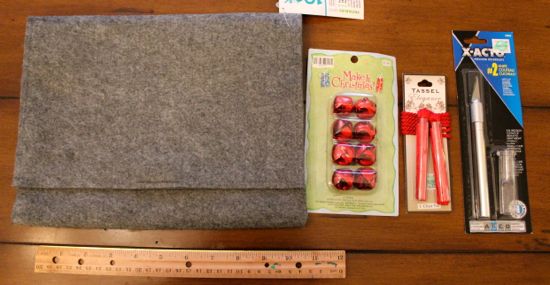
If you'd like to make your own jingle bell + tassel clutch, you'll need:
- Gray felt clutch found at Hobby Lobby. ($4.99) If you're an industrious type, you could probably easily sew your own.
- 3-4 jingle bells. ($1.99 for 8 but I think all Christmas stuff was 40% off)
- Red curtain tieback with tassel. ($2.99)
- X-Acto knife
- Glue
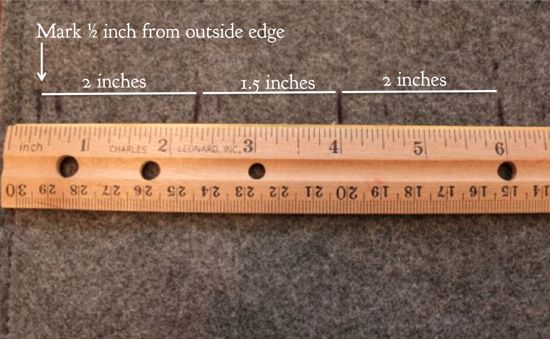
Step 2: The guide above shows how I spaced the cuts. You will make a total of 6 small slits. The 2 inch width is where the cord is on the outside (i.e., visible). Continue the pattern till you reach the other side of the clutch. You'll end up 1/2 inch from the other outside edge as well.
Step 3: Cut your first slit at the 1/2 inch mark. Pull the cord through from the front, stopping when you hit the tassels.
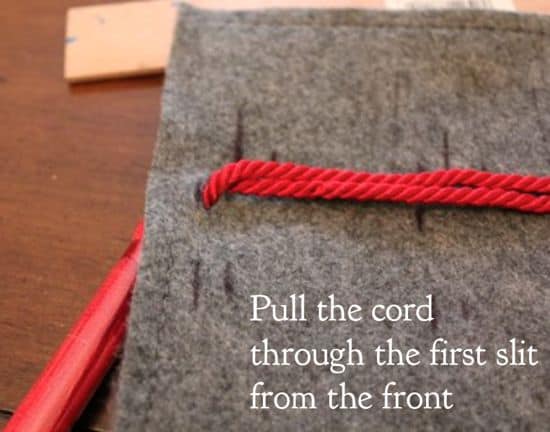
Step 4: Continue cutting the slits about a 1/2 inch wide. Weave the cord through.
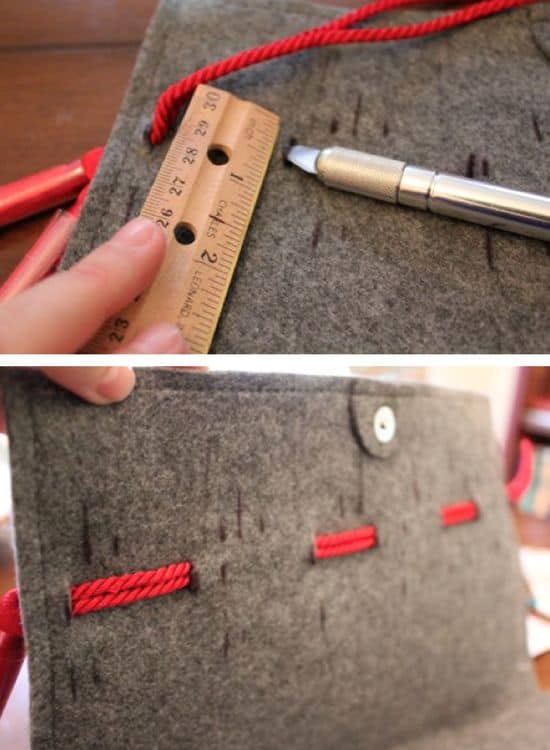
Can you see all of my pen marks? It took me FOREVER to figure out the spacing. Maybe next time I'll try using a pencil.

Step 5: You can glue any excess cord on the underside of the flap if you want. I didn't bother. I just tucked it in.
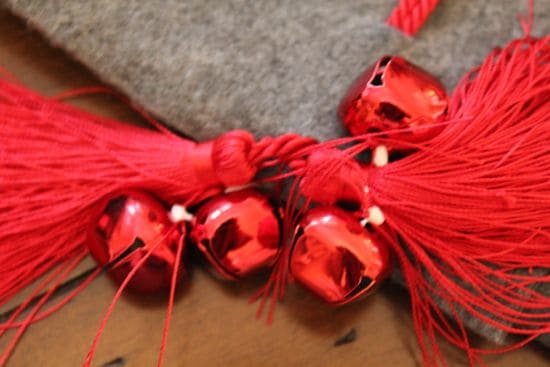
Step 6: Tie on the jingle bells. I added 2 to each tassel. Dab a bit of glue on the knot. When it's dry you can snip off the tassel string ends.
This is actually how it looks with my wallet, phone & diapers in there. Love!
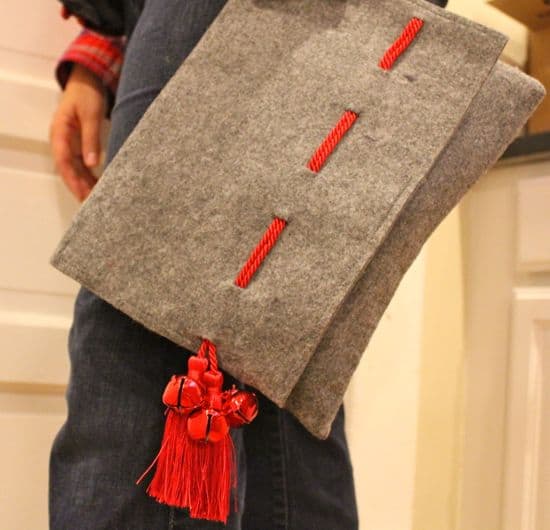
The sound of jingle bells is totally putting me in the Christmas spirit. Is it too early to start listening to Christmas songs?


0 Comments:
Post a Comment
Subscribe to Post Comments [Atom]
<< Home