DIY Anthropologie Gumball Necklace
Did you guys have a lovely weekend? We had a gorgeous day Saturday for Caroline's picnic (photos to come) and it has rained ever since. I enjoyed the long break - thank you so much to Krista and Lindsay for guest posting!
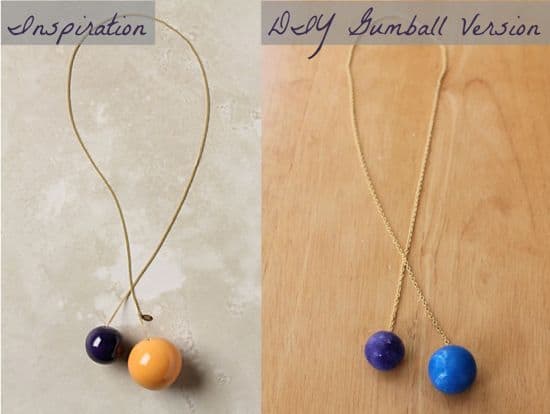
I've realized that I enjoy making stuff from unusual materials. Hose clamps, paper clips, hex nuts. You get the idea....
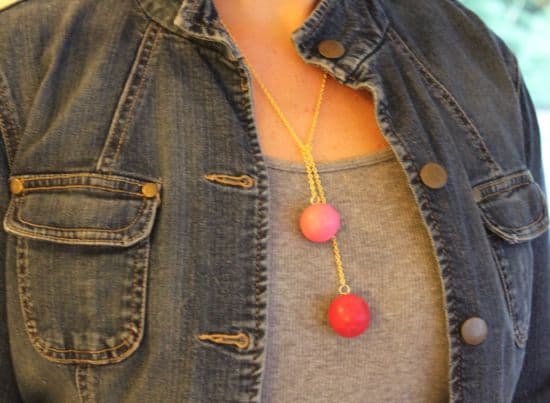
When I saw this Anthropologie gumball necklace I thought, how cool would it be to make one from actual gumballs! So I did. And it only cost me 50 cents - not $258!

I've worn this necklace a couple of times - I love that I can change out the colors - and people always comment on it. It's a fun conversation piece.

To make your own, you will need:
- 2 gumballs of different sizes. I got mine from a machine outside of our grocery store for 25 cents each.
- 2 earring clamps - the small silver things. I bought these ages ago to make the feather earrings that I never got around to.
- Glue - I used E-6000
- At least 24 inches of gold chain
- 2 jump rings
- Something to cut the chain

Step 1: Poke a hole into the gumball. You might need a knife to break the surface but then use a toothpick to widen as necessary. You don't need to push in very far since the clamps are pretty tiny.
Step 2: Coat the earring clamp in glue and insert it into the gumball hole. Set aside to dry.
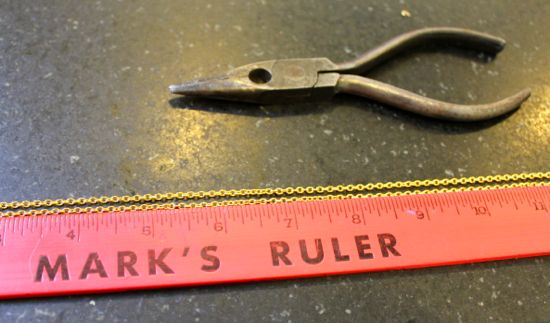
Step 3: Cut your chain. Anthropologie said their necklace was 24 inches in length so I cut that amount. However, I would add a couple of inches next time.
NOTE: Did you notice that I'm using "Mark's Ruler"? He has probably had that since 3rd grade! So cute.
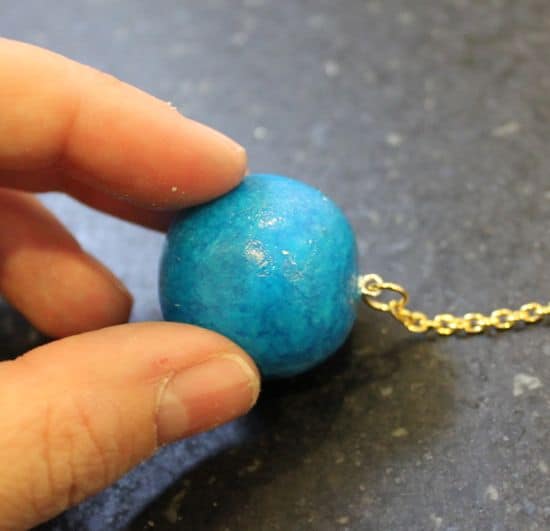
Step 4: Add your jump rings to the each end of the chain and attach to the gumball when the glue is dry.
My gumball looks kind of wet here because I coated it in Modge Podge. Not recommended as it gave it a crackled look. It was sort of pretty but not what I was going for.
I left the other gumballs untreated and they were fine. They lose some of the shiny appearance after a few days (I guess they dry out) so if you want them to stay shiny, spray with a glossy sealer.
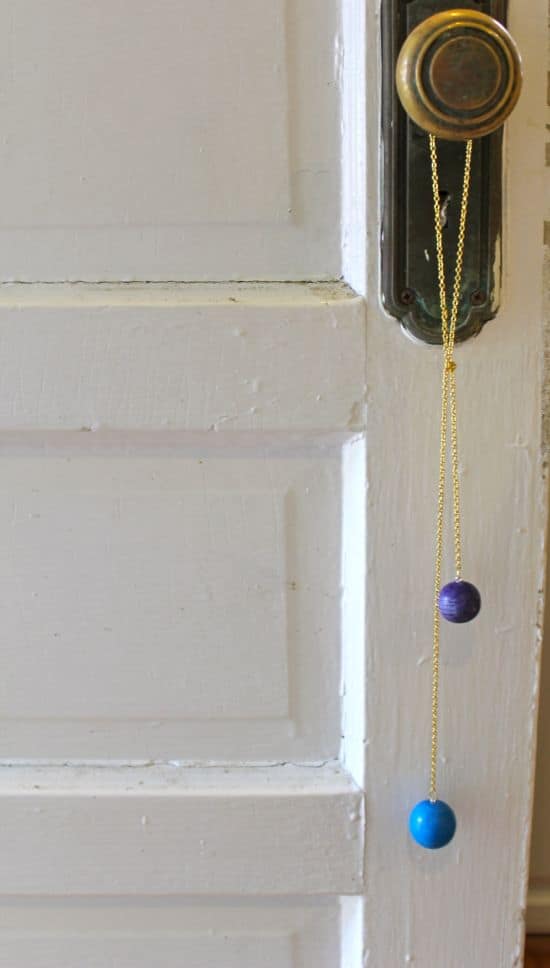
Step 5: Wear by crossing one side under and over the other.


0 Comments:
Post a Comment
Subscribe to Post Comments [Atom]
<< Home