DIY Turquoise Clay Necklace
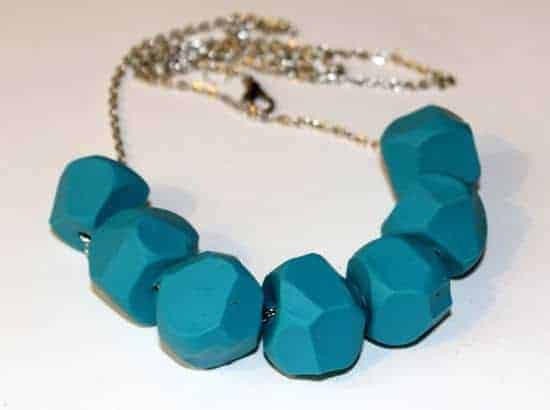
I could no longer resist the lure of the polymer clay. Am I the last blogger to use this stuff? Probably. That's pretty much my M.O.
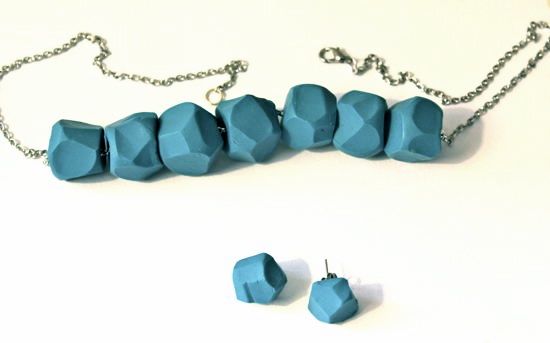
But I saw this necklace (via Live and Enliven) and instantly loved it ... but wanted it in turquoise. It reminded me of some recent projects I've seen (like this one) so I went to Hobby Lobby with a screaming Henry that same day.
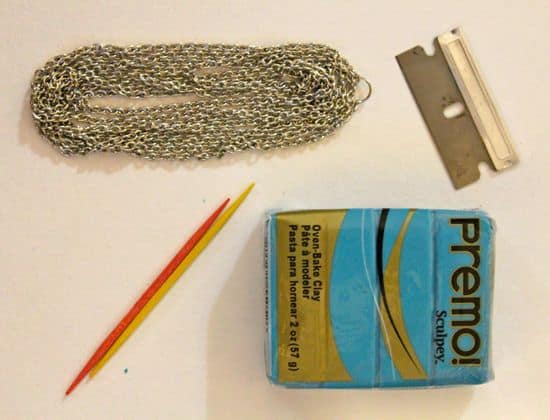
You will need:
- Oven bake clay in the color of your choice (there is an overwhelming array)
- Razor blade or sharp knife
- Jewelry chain - I went with silver. You could even do leather cord.
- Toothpick
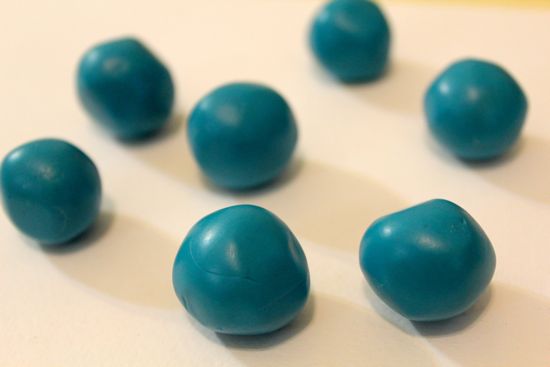
Step 2: Cut edges with razor blade. You want some sharp edges and funkiness to the shape.

Step 3: Poke a hole through the center with a toothpick.

Step 4: Bake according to package directions.
Step 5: Thread the chain through the beads and cut the chain to desired length.
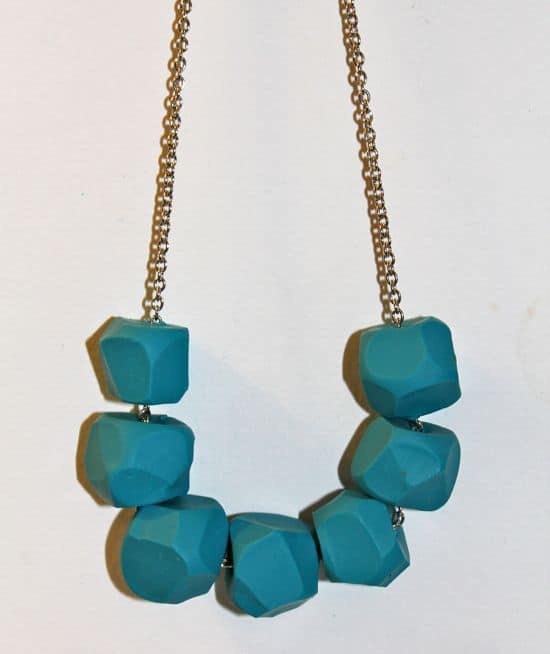
I also made a small pair of earrings. Same preparation (don't poke a hole though) and then I glued an earring backing on with E6000 glue. I love how Wilma Flintstone-esque it is!


0 Comments:
Post a Comment
Subscribe to Post Comments [Atom]
<< Home