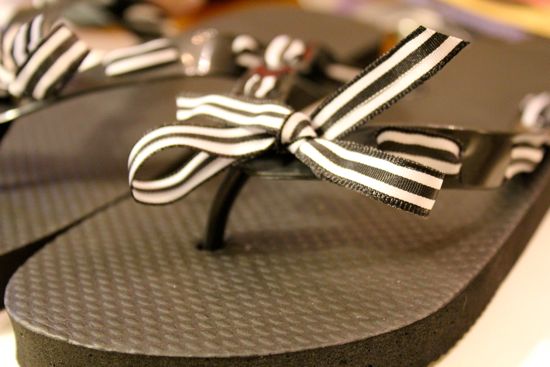
DIY Ribbon Flip Flops

I'm actually glad to see Monday come this week. Why do I feel the need to cram the weekend full of cooking and crafting projects? I spent spare naptime moments decorating flip flops and making necklaces. Oh yeah, and spray painting my dining room chairs. (Not sure that one was too successful.)
I'm not sure why I decided to decorate flip flops since I don't actually wear them. I spent last summer in oh-so-attractive support hose trying to fix pregnancy-related circulation issues. Fun times in 90+ weather. Now I can't wear flimsy footwear without courting major leg pain.
Anyway, my plan had been to make these for my mom and sister and present them over the 4th of July. Then my plan was to make them together (aww!) over the weekend. Then my plan was to finish one flippin' pair before losing a finger. Mom, Sus, you can fight over 'em. :)
 What you need:
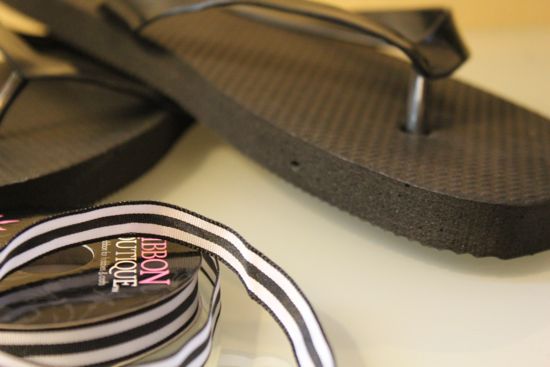
- Pair of flip flops
- Length of ribbon cut into four 18 inch pieces
- Some sort of craft knife
CAUTION: This is hard. First, my straps must have been made from industrial plastic or something because I had to saw to cut it. Second, while you're sawing away, it's easy to get carried away and slice all the way through the strap. This pretty much ruins the project ... and your flip flops. Third, try to not lose a finger.
Step 2: Measure 3/4 inch from the first cut and continue making vertical slits down each side. Make sure you have an odd number of slits. I cut 7 on each side.
Step 3: Cut four 18 inch pieces of ribbon.
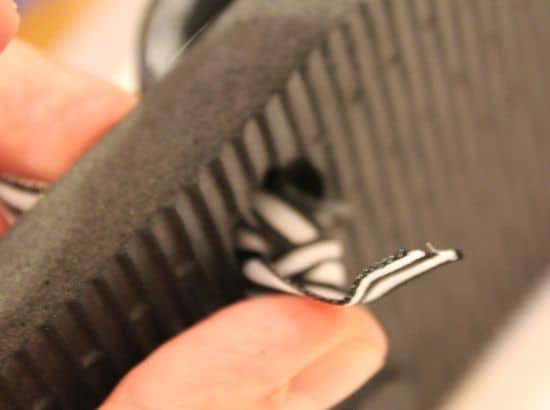
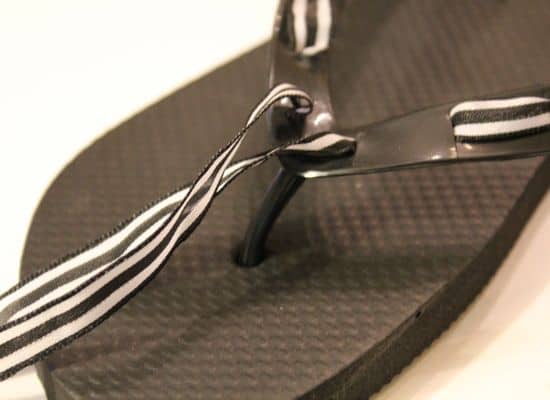
Step 4: Pull apart the bottom of the flip flop and thread the ribbon up through. Leave about 2 inches on the bottom of the shoe. Wrap it around the strap button and push the button back in.


Step 5: Weave the ribbon through the holes until you reach the top. Tie the ends into a bow and trim off the excess ribbon.

I shouldn't post this photo, my pedicure looks so bad. I'm going tomorrow. I promise.


0 Comments:
Post a Comment
Subscribe to Post Comments [Atom]
<< Home