DIY Braided T-Shirt Bracelets
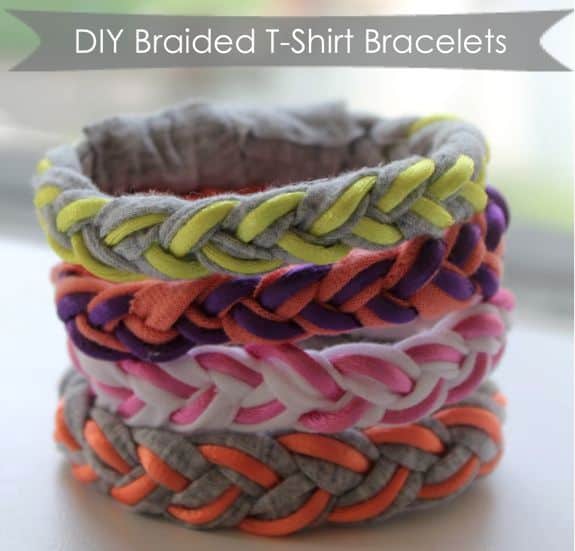
Here's the DIY I promised last night when I got distracted with Henry's fun laugh. I spotted these pretty Roarke NYC braided bracelets in Elle magazine and loved their bright, feminine colors. I wanted a bunch of them to wear stacked on my wrist but $60 each was out of my reach.
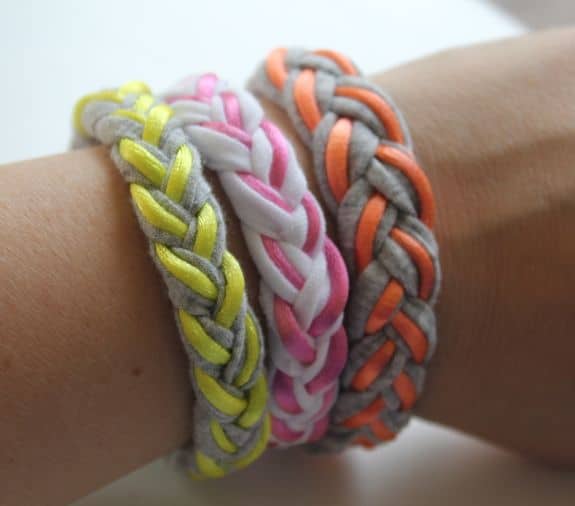
I've braided bracelets before - even a necklace - so I figured how hard could this be? Turns out it's pretty easy. Otherwise, let's be honest, I wouldn't have figured it out. And cheap. Yahoo!
You'll need:
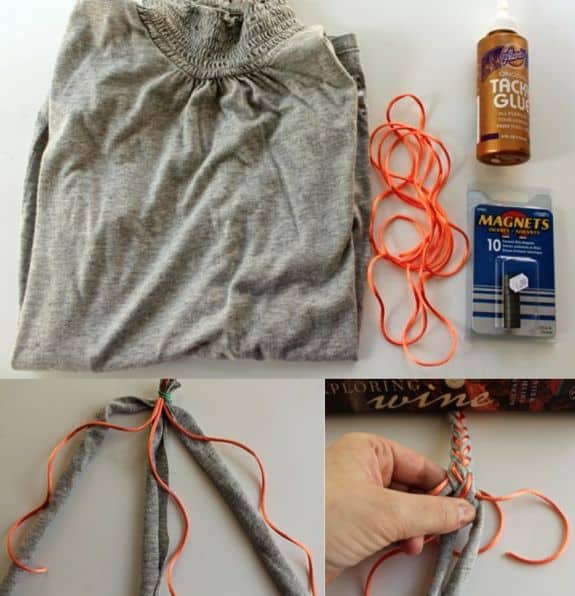
- Cotton or jersey T-shirt you don't mind cutting up. Or you can pick up a shirt at Goodwill. White and grey make good base colors for pastel or neon cord.
- 1 yard of rattail cord for each bracelet. You can find lots of fun colors at JoAnn's for 50-99 cents a yard.
- Magnets. I got a package of 10 for $2.
- Glue. Either hot glue or tacky glue or both.
Instructions:
1. Cut the shirt into 3 strips roughly 1-inch wide and about 12 inches long. But don't stress cutting this precisely. The ends will roll in so you don't need it to be pretty.
2. Cut the rattail cord into 3 10-inch pieces.
3. Anchor the top with a bobby pin or rubber band, separate into 3 strands, and start braiding.
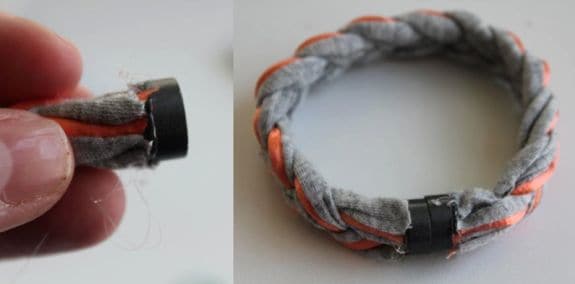
4. When you get to the end of the braid, snip the ends, bunch all of the pieces together, and glue on the magnet.
5. Do the same to the other end. Wrap it around your wrist and make sure you have the right length before attaching the second magnet.
 6. Cut two little pieces of fabric to cover over the magnet ends.
7. Fold the fabric over the magnet and glue together.
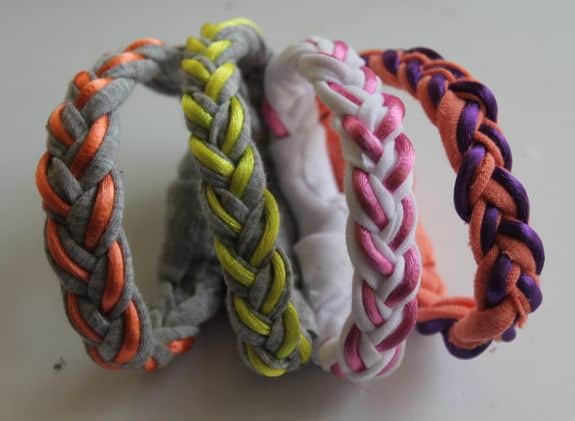
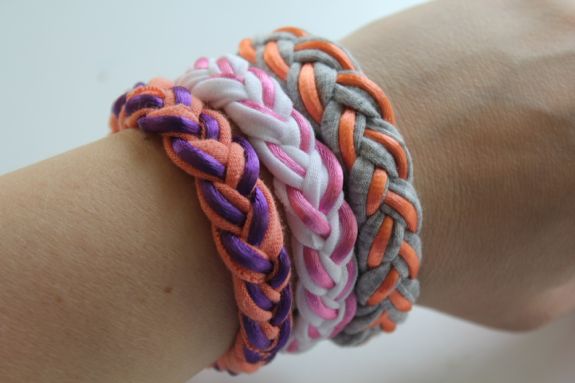
What do you think? Would you make one? What colors would you use?


0 Comments:
Post a Comment
Subscribe to Post Comments [Atom]
<< Home