DIY Color Block Bangles
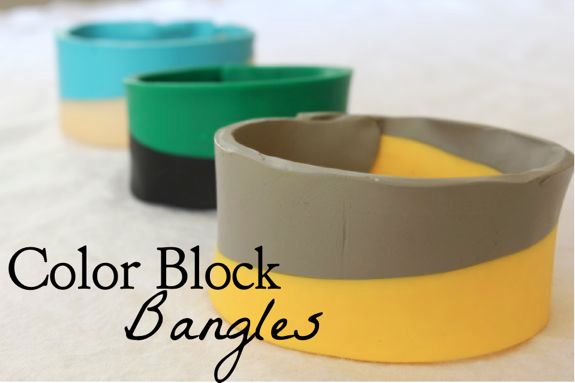
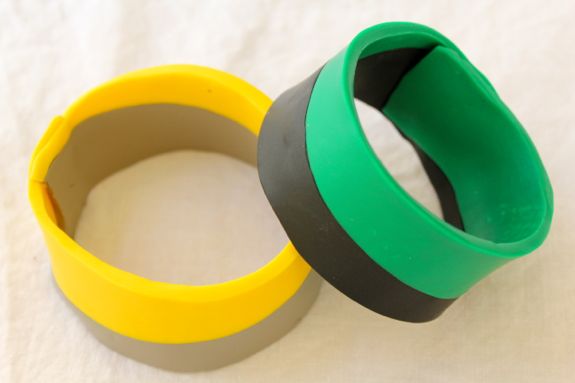
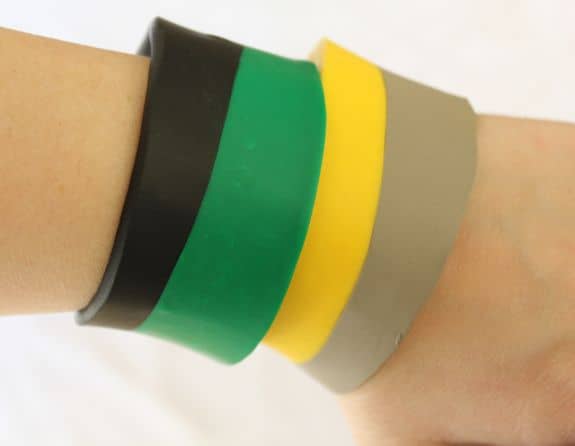
Color blocking is one of my favorite trends and I've resigned myself to enjoying it via accessories these days. I spotted a fun gray & yellow bangle in a magazine and when I couldn't find it online I went on a quest to create a similar version.
I'm not going to lie - my "process" is a little embarrassing. I rolled out the clay with a Sharpie marker on my daughter's sticker book.
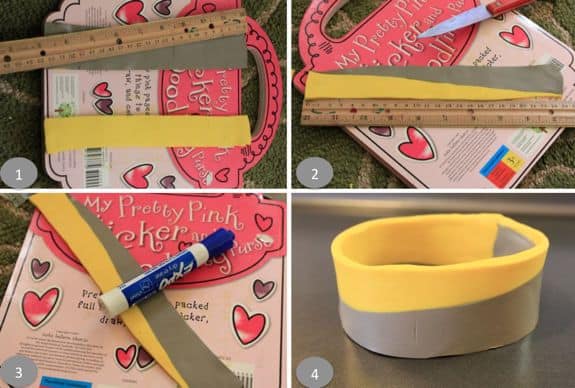
Supplies: Two colors of oven bake clay, something to roll with (like a Sharpie), a ruler and a knife
Step 1: Work the clay in your hands until it's pliable. Then roll out each clay color to about 23 inches long. This may vary based on the size of your wrist. Don't get the width of the clay too thin. The bangle will hold together better if it's thicker.
Step 2: Use the ruler to cut the clay into a diagonal piece.
Step 3: Put the two colors together. Roll over one side of the clay with your Sharpie to help the colors stick together. You can put the other 2 pieces together for another bangle (stack 'em!) or save for a future project.
Step 4: Form into a circle, press the ends together, and bake according to package directions.
Note: To get the size just right, put a bangle you already own on top of the clay to make sure it's not too big or too small. The first couple I made ended up too big because I was wrapping the clay around my old bangle for sizing.
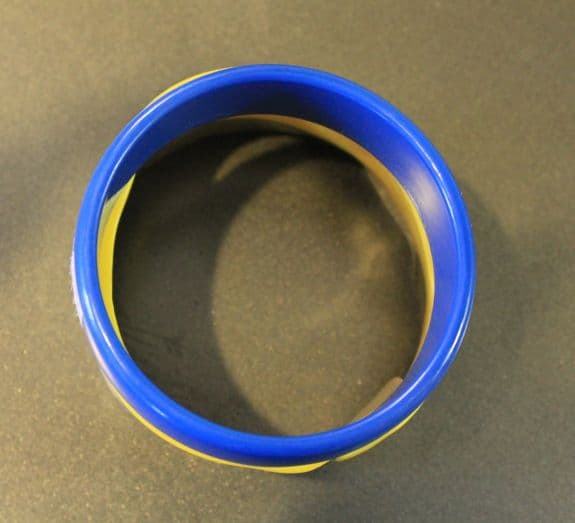
I think I need to take a pottery class because working with this stuff is so relaxing. There are so many fun color combinations to try - pink & red, blue & green, and something with purple of course!


0 Comments:
Post a Comment
Subscribe to Post Comments [Atom]
<< Home